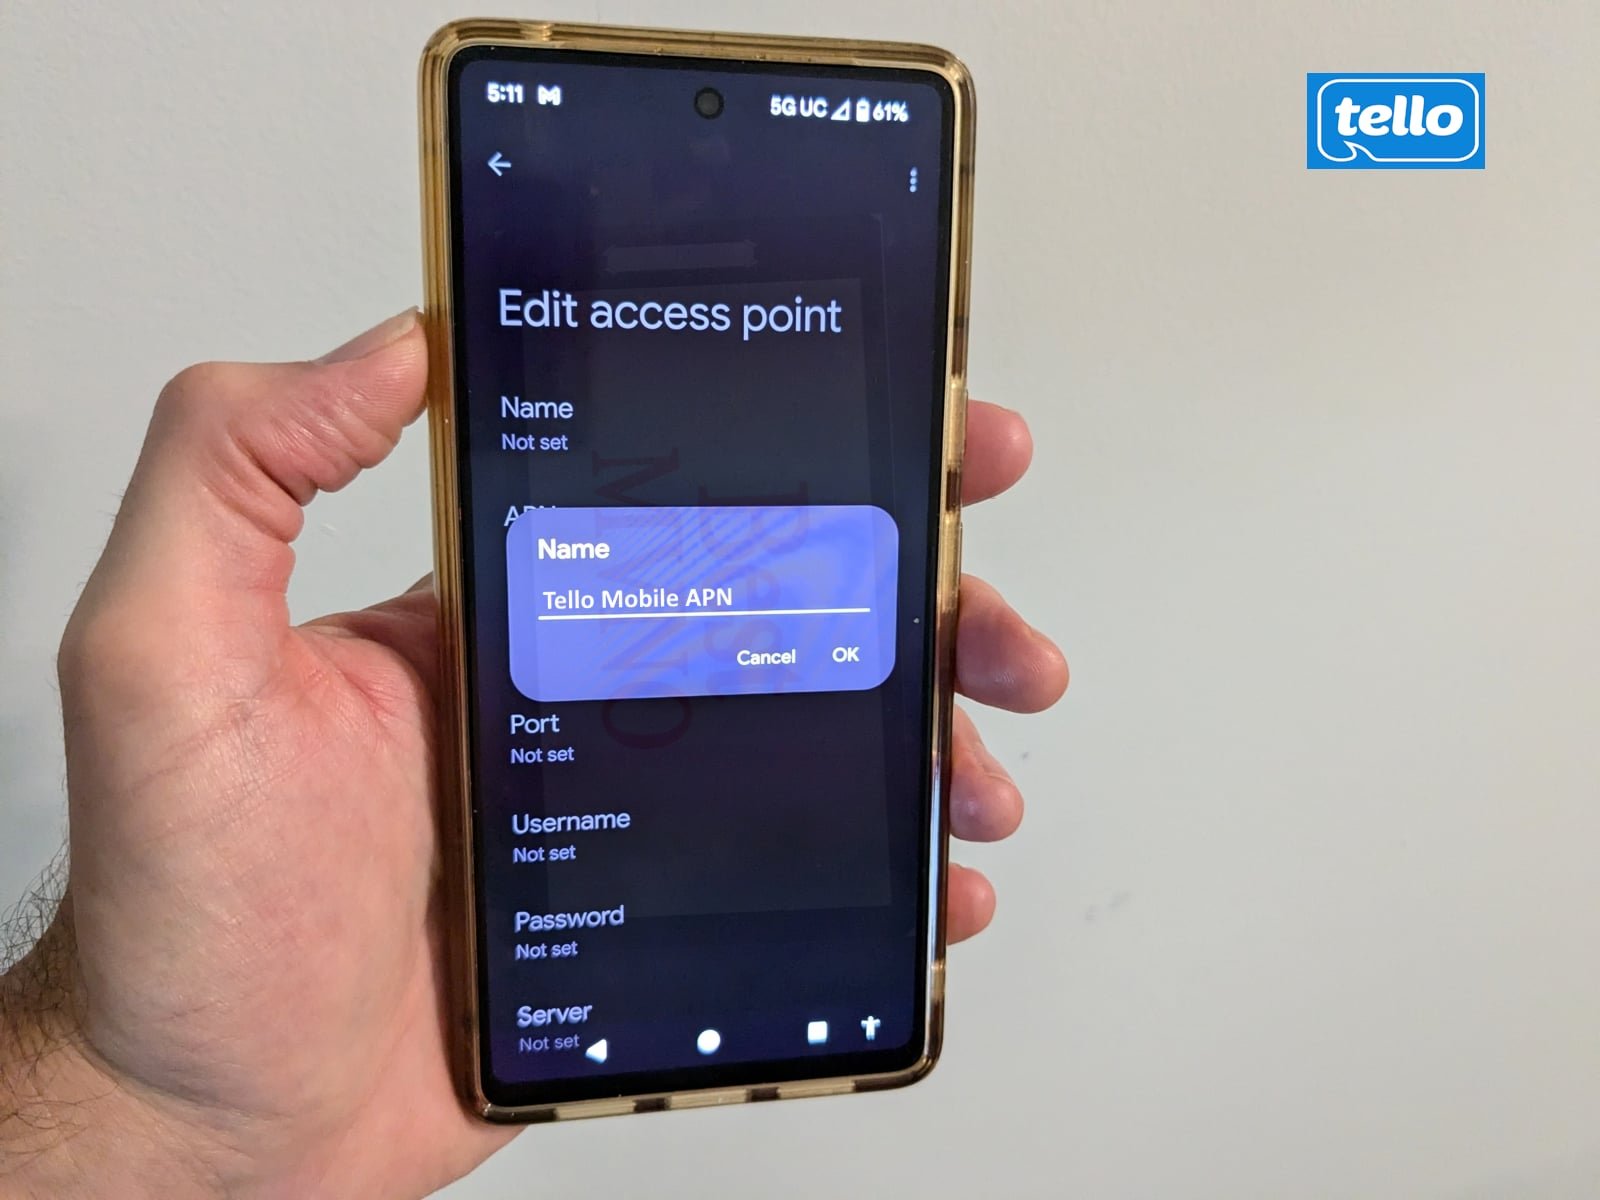
If you have no data and your internet doesn’t work unless you connect to WiFi you likely need to update your Tello APN Settings.
Before switching to one of the settings listed here, I recommend that you delete all the other non-working APNs on your phone or device by following the directions below. After applying the new settings, be sure to save it, and then select it for use. If you still find they don’t work, try rebooting your phone. If you still don’t have success, leave a comment so the issue can be looked into. If you find you have APN settings that work or ones that are different than those listed here, feel free to share them in the comments section below or send an email so that the database can be updated. If you need to send an email for any other reason, please list what phone you are using and which carrier/MVNO that you are having trouble getting your APN to work with.
Please note: It is very IMPORTANT that you follow all the formatting shown.
If you see something capitalized, then capitalize it. If you see a comma, use a comma, if there are no spaces between the comma and other words, then don’t make spaces between them. If you don’t follow these rules, your APN profiles will not work properly, and your internet and/or MMS picture messaging will continue to not work.
To configure your APNs and delete your old ones you’ll first have to find where the settings are located in your phone. Below are a couple of general guides that you can use to find them on Androids and iPhones. If you already know how to access them, just skip over the section and scroll further below to the actual settings themselves.
How To Change Your Device APNs To Tello
iPhones
APN settings on the iPhone can be difficult to change because in many cases Apple blocks full access to the settings unless you jailbreak and thus hack the phone.
For those of you who do have access to the settings they can be found by going to either:
- Settings > Cellular > Cellular Data Options > Cellular Network
OR
- Settings > Mobile Data > Mobile Data Options > Mobile Data Network.
Once there you can either tap to reset settings to default or manually edit them. Alternatively, you can also check for automatic APN configuration by using a carrier profile. You can do this by going to settings” followed by “general” and then “about.” If a carrier profile update is available you’ll see a notification for it there. If you have to add custom APNs to your iOS device, be aware that anytime you update iOS, Apple will reset the APN settings back to what they were before you put your custom ones in. So you will have to edit them all over again.
APN Update Guide For Android Phones And Devices
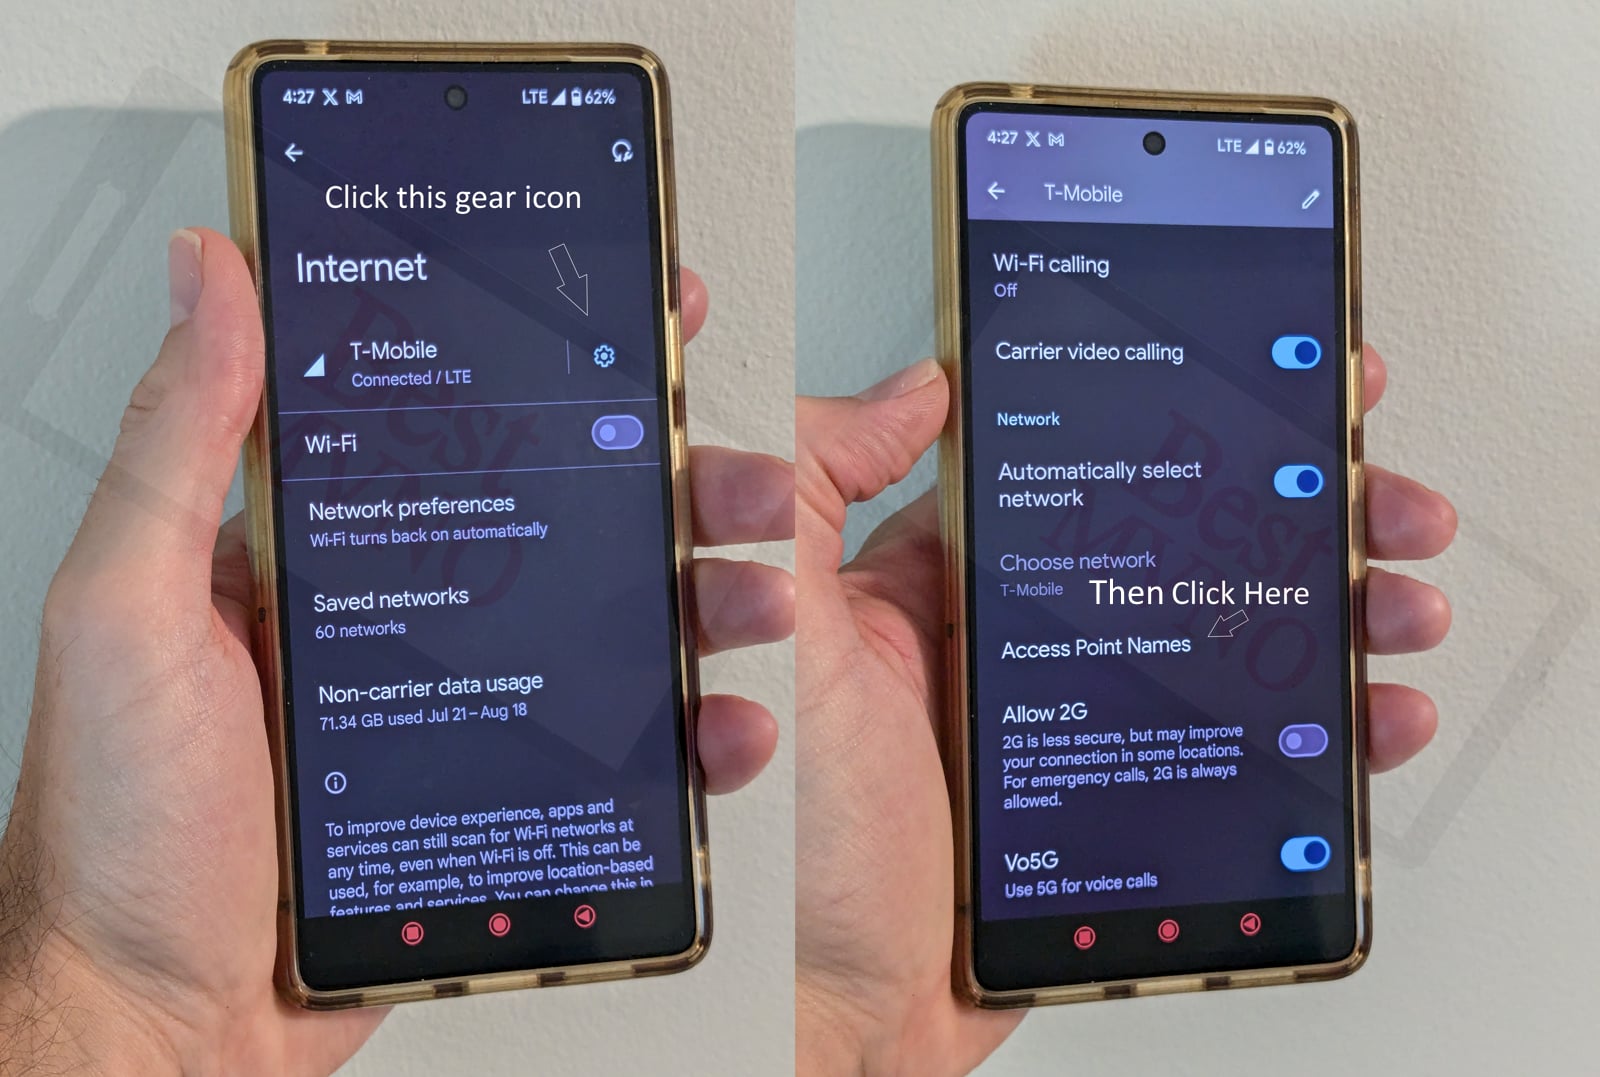
If you have an Android device, getting to the settings will vary a bit based on your device’s manufacturer and Android version. I currently have a Google Pixel 7, and to get to my APN settings I must go to “settings” then “Network & Internet” followed by “Internet” and then click on the gear icon next to my carrier’s name. Then I scroll down and click on “Access Point Names.”
Alternatively, I can just go to my phone’s settings, use the search bar, and type in “Access Point Names” to be taken to the right place. In general, you can access your APN settings by going to “settings” then clicking on “wireless networks” or “network & internet” then “mobile network,” and finally “Access Point Names.”
You can delete whatever settings are already in your phone or device before you attempt to add one of the new ones shown below. Deleting your existing APNs require you to first click on the actual APN itself, then click on the 3 dot menu, then click on delete. Sometimes it will not be possible to delete them. All you will be able to do is add new APNs to your existing ones or reset the ones that are already there. To reset your APNs, do not click on the actual APN settings, but rather click on the 3 dot menu and click “reset to default.” To add new APNs like the ones shown below, you should see either a + sign next to the 3 dot menu or the word “ADD” depending on your device. Clicking on that will allow you to add new APNS. Once your are done adding all the appropriate settings, you’ll have to click on the 3 dot menu again and then “save” to store them in your phone.
Below are tables of different APNs. You DO NOT need to add all the different tables of APNs to your device. You only need to add one. Once you have one that is working, stop. Do not try adding others. In general, the tables are listed in the order of which ones you should try first.
| APN Name | Tello |
| APN | wholesale |
| Proxy | |
| Port | |
| Username | |
| Password | |
| Server | |
| MMSC | http://wholesale.mmsmvno.com/mms/wapenc |
| MMS Proxy | |
| MMS Port | |
| MCC | 310 |
| MNC | 260 |
| Authentication Type | PAP |
| APN Type | default,mms |
| APN Protocol | IPv4 |
| APN Roaming Protocol | IPv4 |
| Bearer | Unspecified |
| MVNO Type | None |
| MVNO Type |
| APN Name | Tello |
| APN | wholesale |
| Proxy | |
| Port | |
| Username | |
| Password | |
| Server | |
| MMSC | http://wholesale.mmsmvno.com/mms/wapenc |
| MMS Proxy | |
| MMS Port | |
| MCC | 310 |
| MNC | 240 |
| Authentication Type | PAP |
| APN Type | default,mms |
| APN Protocol | IPv4 |
| APN Roaming Protocol | IPv4 |
| Bearer | Unspecified |
| MVNO Type | |
| MVNO Type |
| APN Name | Tello |
| APN | fast.t-mobile.com |
| Proxy | |
| Port | |
| Username | |
| Password | |
| Server | |
| MMSC | http://wholesale.mmsmvno.com/mms/wapenc |
| MMS Proxy | |
| MMS Port | |
| MCC | 310 |
| MNC | 240 |
| Authentication Type | |
| APN Type | default,supl,mms |
| APN Protocol | IPv4/IPv6 |
| APN Roaming Protocol | IPv4 |
| Bearer | |
| MVNO Type | |
| MVNO Type |
If you tried the above and nothing at all works for you, your phone shows no signal and you still can’t place calls, send texts and use data, your phone is either not compatible with the Tello Mobile network or you have a bad SIM card and should request a new one from Tello Mobile.
If you can use some parts of the phone like make calls and send texts but can not connect to the internet or send MMS your SIM card is fine but your phone may not be compatible with the network. It may also be that you still haven’t found a working APN for your device. You should also double check your APN settings and make sure you haven’t accidentally added a space, or comma to a setting when there shouldn’t be any.

Thanks the Tello GSM (T-Mobile) APN settings worked for me. Discovered and tried them after waiting 3 days for Tello to tell me why my phone was not working properly after moving service there (from T-mobile).
Tello GSM (T-Mobile) APN Alternative
APN Name Tello MMS
APN wholesale
MMSC http://wholesale.mmsmvno.com/mms/wapenc
MCC 310
MNC 240
Authentication Type PAP
APN Type mms
APN Protocol IPv4
APN Roaming Protocol IPv4
Bearer Unspecified
MVNO type None
Tello is no longer CDMA but has moved to GSM, so these settings are no longer correct.
Tello does work. i know it work with optimize lineos
I entered all the specs from the first (Main) group and the second I hit save it went blank and showed ” Access Point Name settings are not available for this user”. Nexus 5 with LineageOS